Pour your own scented candles
One sitting on Zoom. Melt, scent and pour soy candles in your own kitchen, with jars you already have.
3 hrs
One sitting
Hindi & English
Taught in both
1 month
Recording access
Live class + recording for 1 month. You buy your own wax and wicks — about ₹500 for everything.

Roshini Bose
Candles & home fragrance · @mysticbloomluxury
When and how
Date
Saturday, 19 September
Time
2:00 pm – 5:00 pm
Where
Live on Zoom
Joining link is emailed to you before the class
Language
Hindi & English
Every step explained in both, so nothing is missed
What you need to buy
Nothing is couriered to you and there is no kit to order from us. Wax, wicks and fragrance are the only things you spend on — the jars and the saucepan are already in your kitchen.
Soy wax
About 500 g. Craft shops or online. Roughly Rs 250-350 - enough for two or three candles.
Cotton wicks with metal tabs
A pack of 10 is about Rs 50. Bring a couple of sizes if you can.
Candle fragrance oil
One small bottle, about Rs 200-300. Candle-grade, not the oil for a diffuser.
Two or three glass jars or tins
Clean jam jars from your kitchen work perfectly. No need to buy anything.
A steel bowl and a saucepan
From your kitchen - this is your double boiler. Nothing special needed.
A wooden skewer or a clothes peg
From home. Holds the wick upright while the wax sets.
Newspaper or an old sheet
To cover your table. Spilled wax lifts off far more easily than it looks.
Order the wax a few days early. It is the one thing you cannot arrange at the last minute. Ask for soy wax for candles at a craft shop, or order it on Amazon or Flipkart.
What you will learn
Taught one step at a time, on your own wax, with Roshini pouring hers on screen beside you.
- 1Melting soy wax to the right temperature, without scorching it
- 2Picking the wick for your jar — the single thing that decides how it burns
- 3How much fragrance to add, and the temperature to add it at
- 4Colouring the wax evenly, so it sets without streaks
- 5Setting the wick straight so the candle burns down the middle
- 6Pouring at the right temperature so the top sets smooth, not cratered
- 7Fixing sinkholes, wet spots and the crack across the top
- 8Curing — why a candle needs a week before it is worth lighting
- 9Trimming, cleaning and labelling so it looks like something you would buy
- 10What one candle actually costs you to make, if you decide to sell them
What is included
In your fee
- ✓3 hours of live teaching with Roshini on Zoom
- ✓Time at the end for your questions
- ✓The recording for 1 month, to rewatch while you pour
- ✓Your questions answered by email or phone, before and after
Not included
- –The wax, wicks and fragrance — about ₹500 bought locally
- –Jars, a saucepan and a steel bowl, which you already have
We keep the material out of the fee on purpose. Wax is sold everywhere and there is no reason to pay a courier for it.
This is for you if...
You have wanted to make candles but did not know where to start
You tried once and it cratered, tunnelled or smelled of nothing
You want something you can make at home, in your own kitchen
You want to give them as gifts this festive season
You are thinking about selling them, and want to learn it properly first
You would rather be taught in Hindi than only in English
How the class goes
2:00 pm – 5:00 pm · live on Zoom
2:00 pm
Setting up safely
Your double boiler, where to stand, and what not to do with hot wax. Boring for five minutes, then you never think about it again.
2:10 pm
Melting and measuring
Getting the wax to temperature and holding it there. Roshini melts hers alongside you so you can see what it should look like.
2:30 pm
Wick, colour and fragrance
Choosing and seating the wick, then colour and scent — how much, and at what temperature, so the fragrance does not burn off.
3:00 pm
The pour
The part that decides how it looks. Pouring temperature, pouring speed, and keeping the wick centred while it sets.
3:25 pm
Fixing what went wrong
Sinkholes, wet spots, a cracked top. Every one of these is normal and every one has a fix.
3:40 pm
Curing, burning and finishing
How long to leave it, how to trim it, how to label it. Questions until the end.
After the class
The candle leaves your hands warm and soft. What happens over the next two weeks decides whether it burns properly, so Roshini covers all of it before you log off.
Curing · 1 to 2 weeks
A candle poured today is not ready today. Soy wax keeps setting for a week or more, and the scent gets stronger as it does. Lighting it early is the mistake nearly everyone makes.
The first burn
Burn it until the melted wax reaches the edge of the jar — usually two hours. Do that once and it never tunnels. Cut it short and it tunnels forever.
If you want to sell
Roshini covers what a candle costs to make and what goes on a label. What you do with that is up to you — the skill is yours either way.
Meet your teacher

Roshini Bose
Roshini Bose makes scented soy candles and home fragrance by hand. She shares her work on Instagram at @mysticbloomluxury, where people message her directly to order. She teaches in Hindi and English, and this is her first workshop with Rachni.
She shares her work on @mysticbloomluxury, where people message her directly to order.
This is her first workshop with Rachni. She teaches in Hindi and English, and she keeps the class slow enough that someone who has never melted wax can follow every step.
Roshini's work
Candles she has made and sold. You start with the same wax.
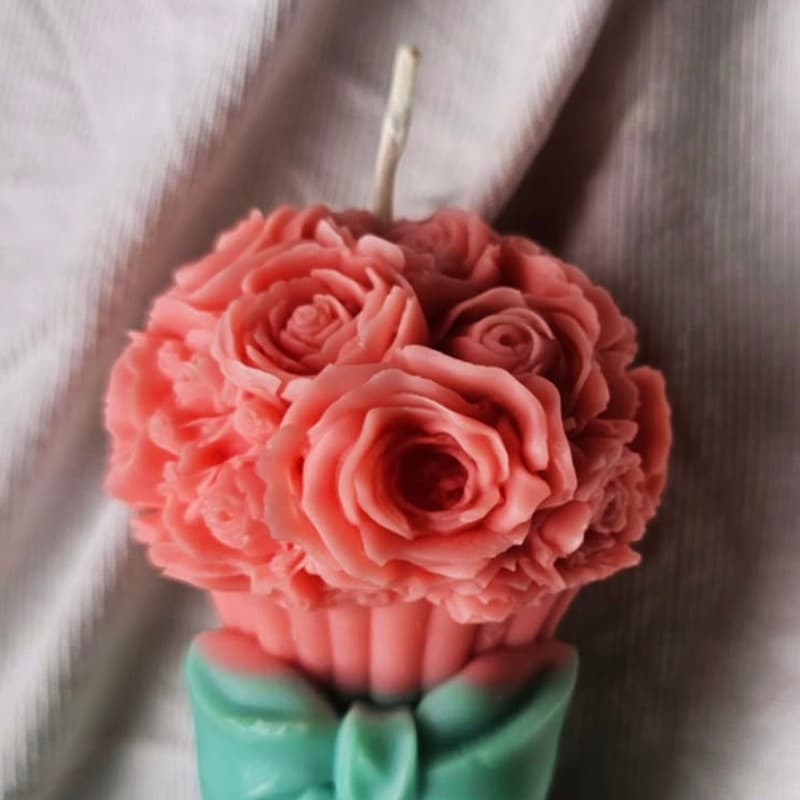
Rose bouquet candle
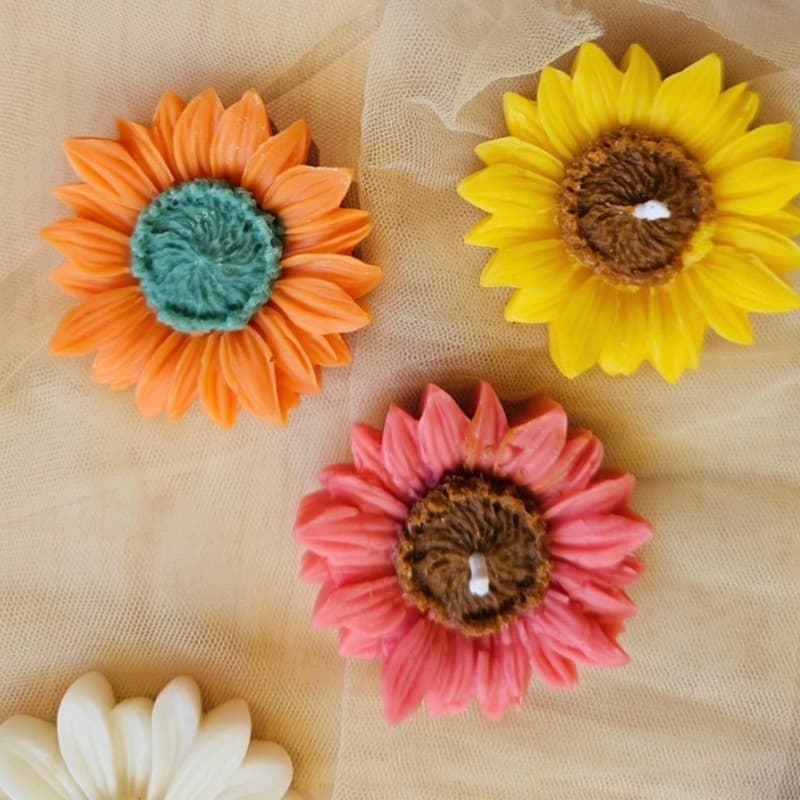
Sunflower candles

Scented wax sachets
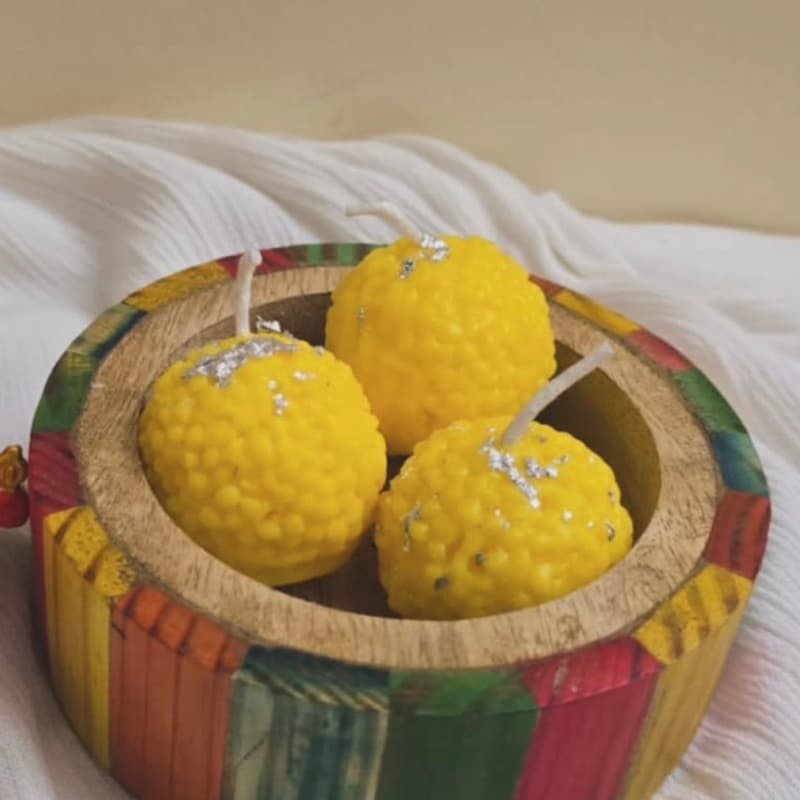
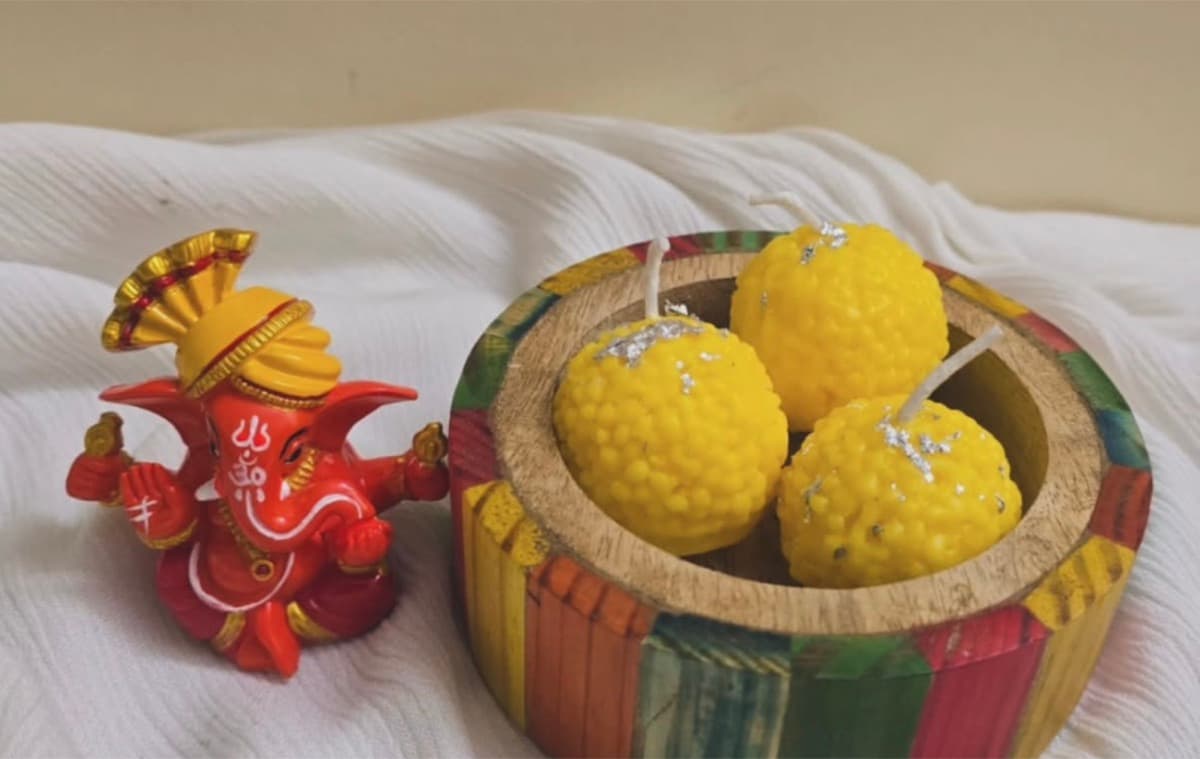
Laddoo candles with silver leaf
Book your place
Saturday, 19 September · 2:00 pm – 5:00 pm · live on Zoom
Recording for 1 month · You buy your own wax
Common questions
Do I need any experience?+
No. This starts from opening the packet of wax. Roshini makes a candle along with you, one step at a time, and you can hold yours up to the camera whenever something looks wrong.
Where do I buy soy wax?+
Craft shops sell it, and it is on Amazon and Flipkart. About 500 g is plenty for the class and usually costs Rs 250 to Rs 350. Order it a few days before so it reaches you in time.
Is any material included in the fee?+
No. The fee is for the live class and the recording. You buy your own wax, wicks and fragrance, and use jars and a saucepan you already have at home.
What if I miss the live class?+
The recording is available for 1 month, so you can watch it and pour whenever suits you. Live is better though, because Roshini can look at your wax and correct you as you go.
Which language is it taught in?+
Hindi and English, mixed. Roshini explains each step in both so nothing is missed.
Is it safe to do at home?+
Yes, with normal kitchen care. The wax is melted in a bowl over a pan of water, never on direct heat, and it never gets near the temperature that oil does. Keep small children away from the stove while you work, as you would when cooking.
Can I melt down old candles instead of buying wax?+
You can, but not for this class. Old candles are usually paraffin, they behave differently as they cool, and you cannot tell what fragrance load is already in them. Start with fresh soy wax so what you see on screen matches what is in your bowl.
How long before I can light it?+
One to two weeks. Soy wax keeps setting after it looks solid, and the scent gets stronger while it cures. Roshini covers this at the end of the class.
What do I need to attend?+
A phone or laptop with internet for Zoom, and a kitchen counter to work on. Prop your phone up so both your hands are free.
What if I cannot attend after paying?+
The fee is non-refundable, but the recording is yours for a month so nothing is lost. Call us on 86397 62610 if something comes up.
₹999
Live on Zoom · Hindi & English